Work Hours Monday to Friday: 7AM - 7PM Weekend: 10AM - 5PM
Ever walked into a beautifully designed room and thought, “I wish I could do that?” Well, you can! Interior design isn’t just for the pros; it’s a journey of self-expression and creating a space that truly reflects you. Ditch the overwhelm and follow these practical tips to transform any room into a haven you’ll love.
1. Gather Inspiration: Your Visual Wishlist
Before you move a single piece of furniture, dive into the wonderful world of inspiration!
Travel Treasures & Online Finds: Think back to hotels you’ve loved, cafes that felt just right, or even breathtaking landscapes. What colors, textures, or overall moods resonated with you? Start a digital mood board (Pinterest is fantastic for this!) or a physical scrapbook.
Shortlist Your Loves: As you gather, refine your collection. What are the recurring themes? Do you gravitate towards cozy neutrals, vibrant pops of color, minimalist lines, or bohemian textures? Pinpoint specific items, colors, and the overall “feeling” you want to evoke.
2. Assess Your Canvas: The Existing Elements
Your room isn’t a blank slate, and that’s a good thing! Existing features can be fantastic starting points.
Sketch It Out: Grab a notepad and sketch the room. Mark all fixed elements: doors, windows, built-in shelving, existing light fixtures, and any furniture you absolutely plan to keep. This helps you visualize the space and its limitations or opportunities.
3. Function First: What Does Your Room Need?
Beyond aesthetics, a well-designed room serves its purpose.
List Your Furniture Needs: Consider how you’ll use the space. Is it for relaxation, working, entertaining, or a multi-purpose zone? Make a list of essential furniture items required for functionality and your personal needs (e.g., a comfortable sofa for lounging, a spacious desk for working, ample storage).
4. Discover Your Anchor: The Star of the Show
Every great design often has a focal point or a foundational element.
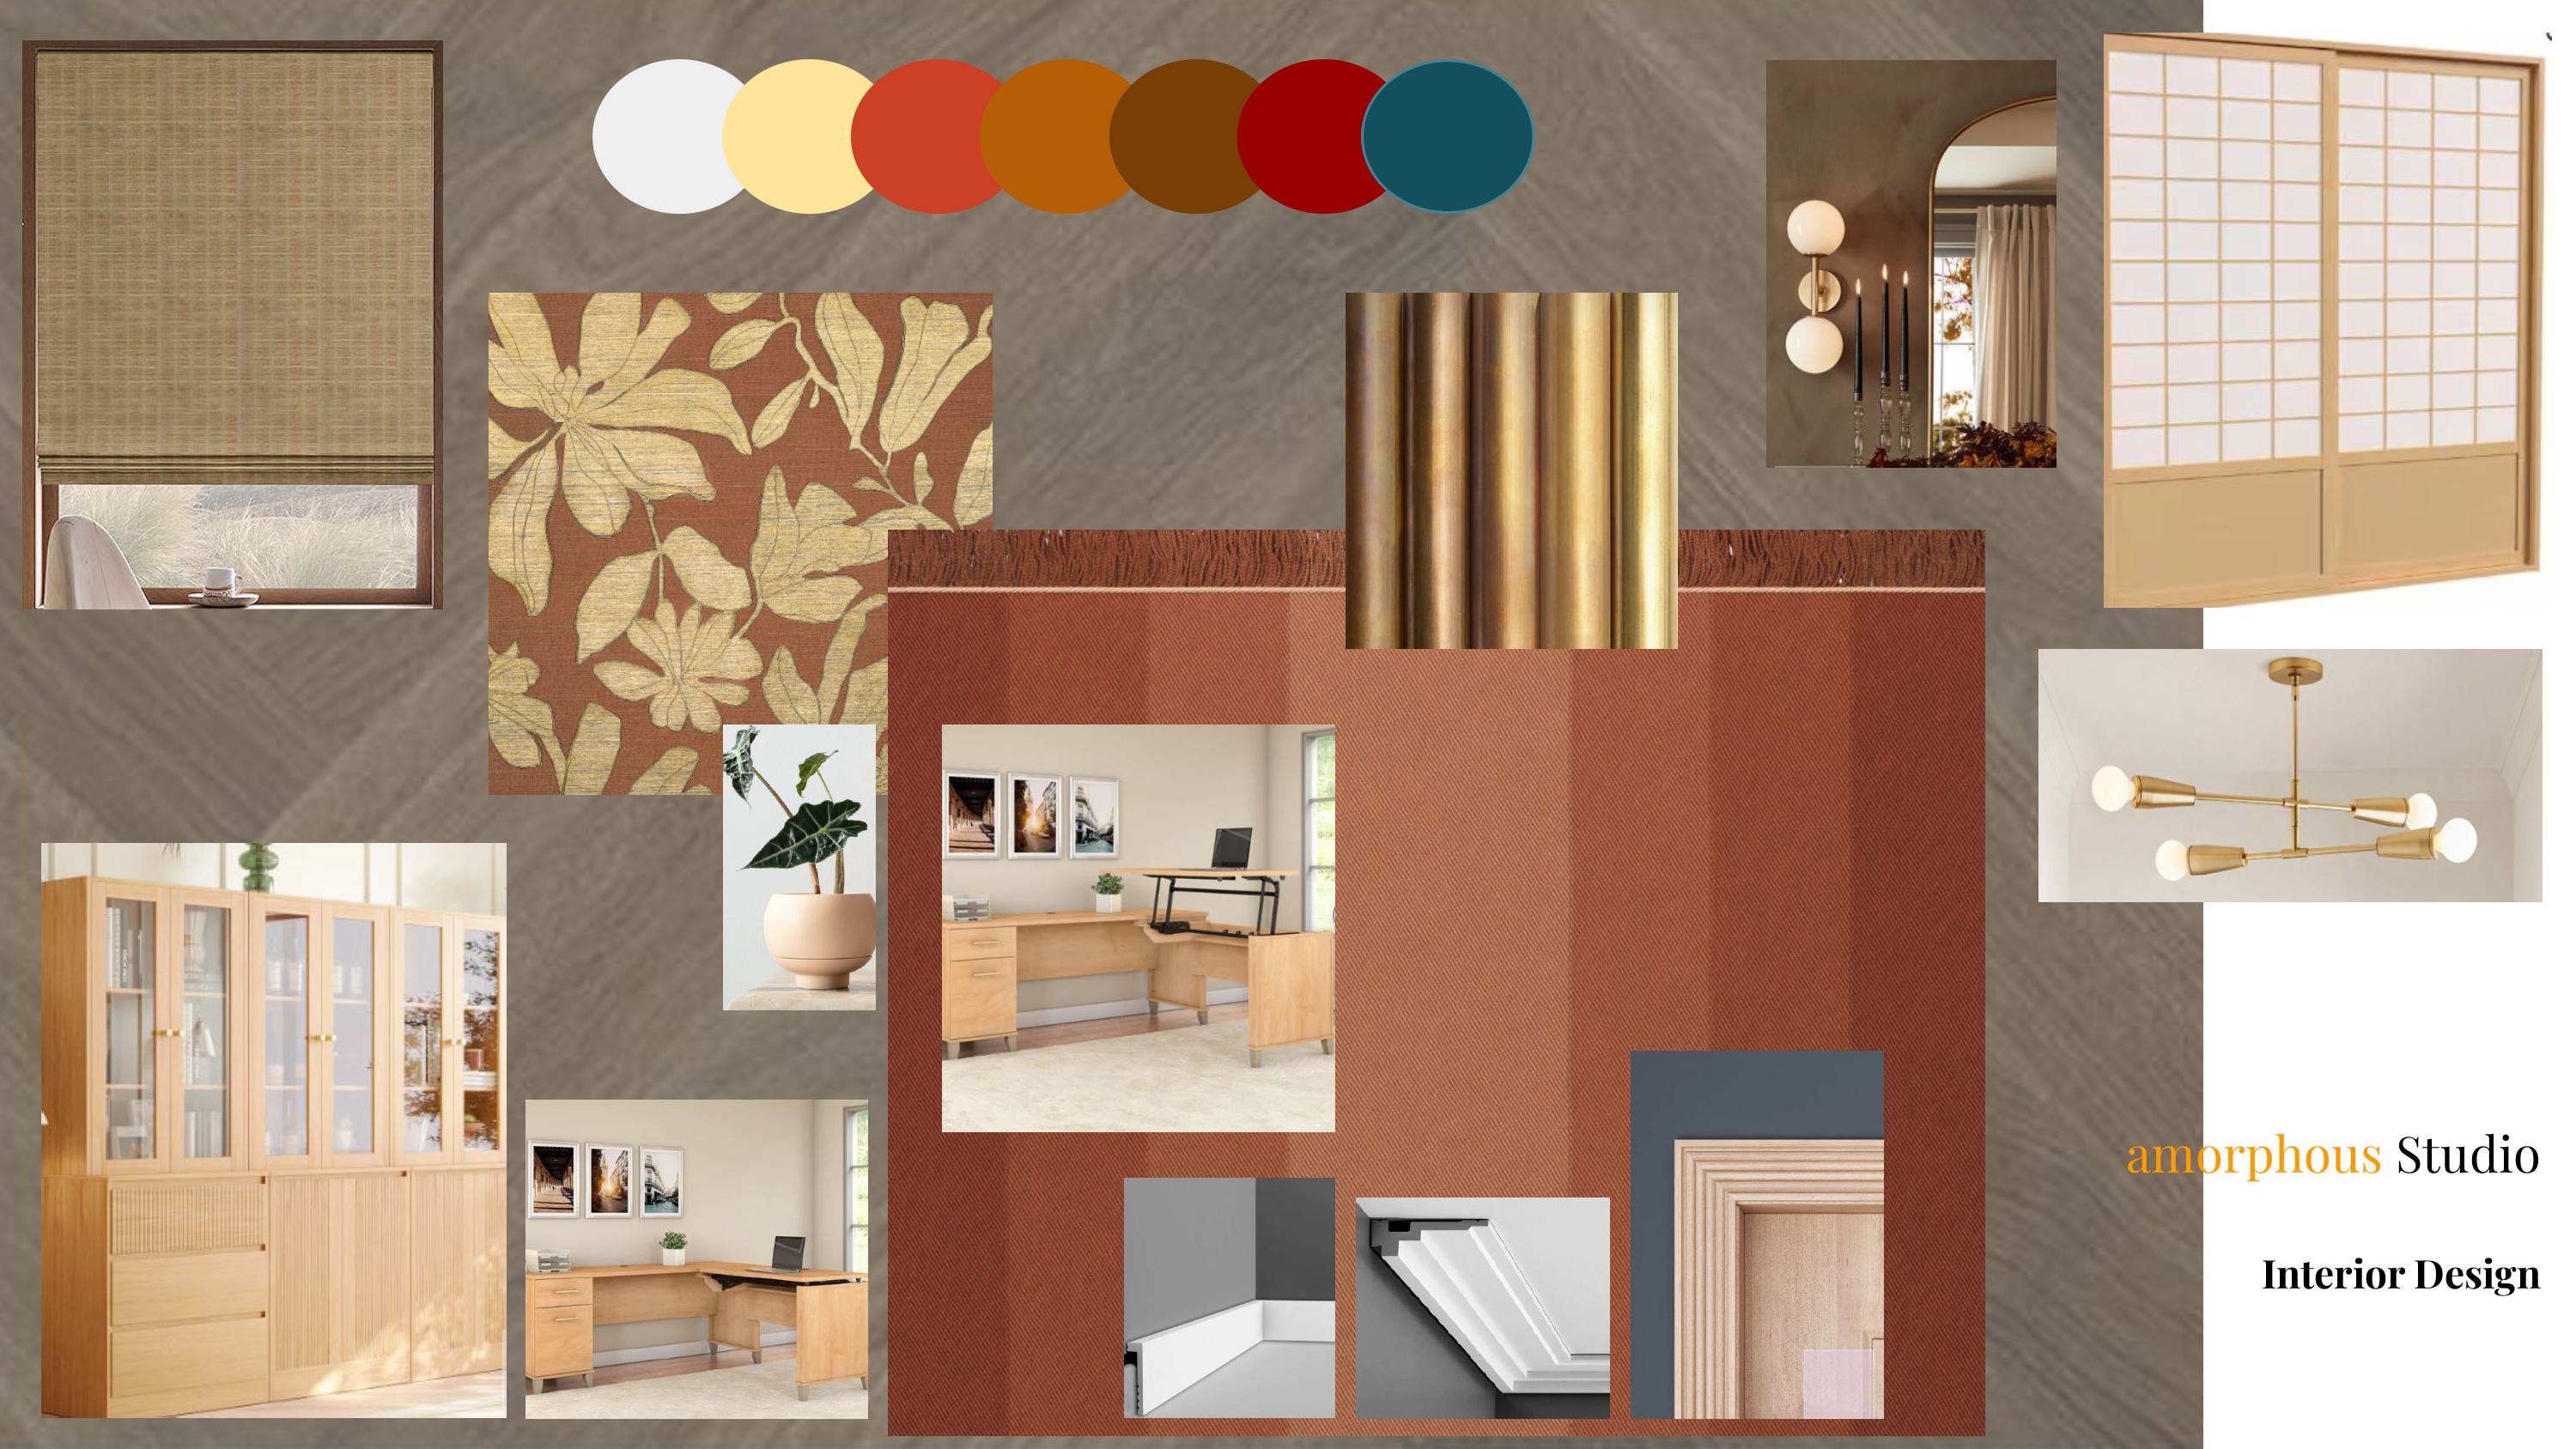
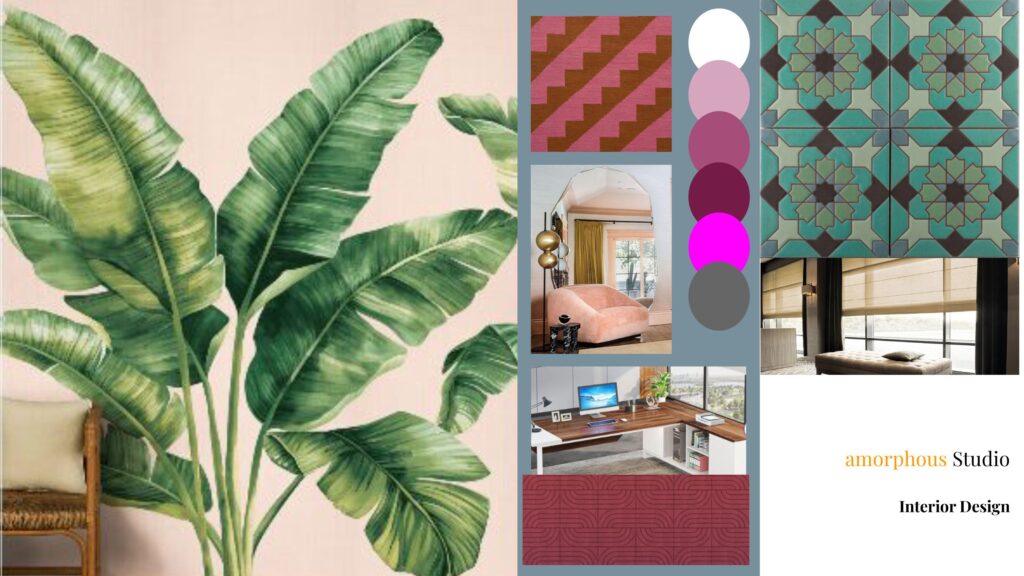
Pick Your Favorite Thing or Color: This could be a beloved piece of art, a vintage rug, a stunning fabric, or even a specific color that instantly makes you feel happy. This “anchor” will become the heart of your design.
5. Develop Your Theme: A Cohesive Story
Once you have your anchor, build a narrative around it.
Create a Theme: If your anchor is a vibrant turquoise vase, your theme might be “Coastal Retreat” or “Bohemian Oasis.” If it’s a mid-century modern credenza, perhaps “Retro Chic” or “Modern Classic.” This theme will guide all your subsequent choices.
6. Lay the Foundation: The Big Decisions
Now, it’s time to tackle the larger, more permanent elements.
Start with the Staples: Consider your flooring (hardwood, tile, carpet – each impacts the feel and acoustics), and then move to paint colors. These are significant investments that set the overall tone.
Molding & Doors: Don’t forget the details! If needed, select moldings that complement your chosen theme and flooring, and consider updating interior doors for a cohesive look.
7. Layer by Layer: Adding Personality
With the foundation set, you can start bringing in the layers that add warmth and character.
Wall Treatments & Rugs: Think about wallpaper for an accent wall or throughout, and select rugs that define zones and add softness.
Furniture & Lighting: Bring in your main furniture pieces, ensuring they align with your functional needs and theme. Then, focus on lighting – a mix of ambient, task, and accent lighting is key.
Built-ins & Window Treatments: Consider built-in shelving for custom storage, and choose window shades or curtains that offer privacy, light control, and enhance your aesthetic.
8. The Cohesion Check: Swatches and Samples
This crucial step ensures everything works together.
Gather Your Swatches: Collect samples of all your chosen elements: paint chips, fabric swatches, flooring samples, wallpaper snippets, and even photos of furniture and decor items.
Assess for Coherence: Lay them all out. Does everything look harmonious? Does it align with the theme you initially envisioned? This is where you can catch any jarring elements before making final purchases.
9. Adapt and Refine: The Natural Light & Usage Test
Even the best-laid plans need real-world adjustments.
Consider Natural Light: Observe how natural light changes throughout the day. A color that looks perfect in a showroom might appear different in your room.
Evaluate Usage: Live with your selections for a bit. Is the layout practical? Does the lighting work for all your activities? Make adjustments as needed to ensure the space is both beautiful and functional for you.
Designing your interior is an exciting and rewarding process. By following these steps, you’ll not only create a stunning space but also one that genuinely reflects your unique style and needs. Happy designing!